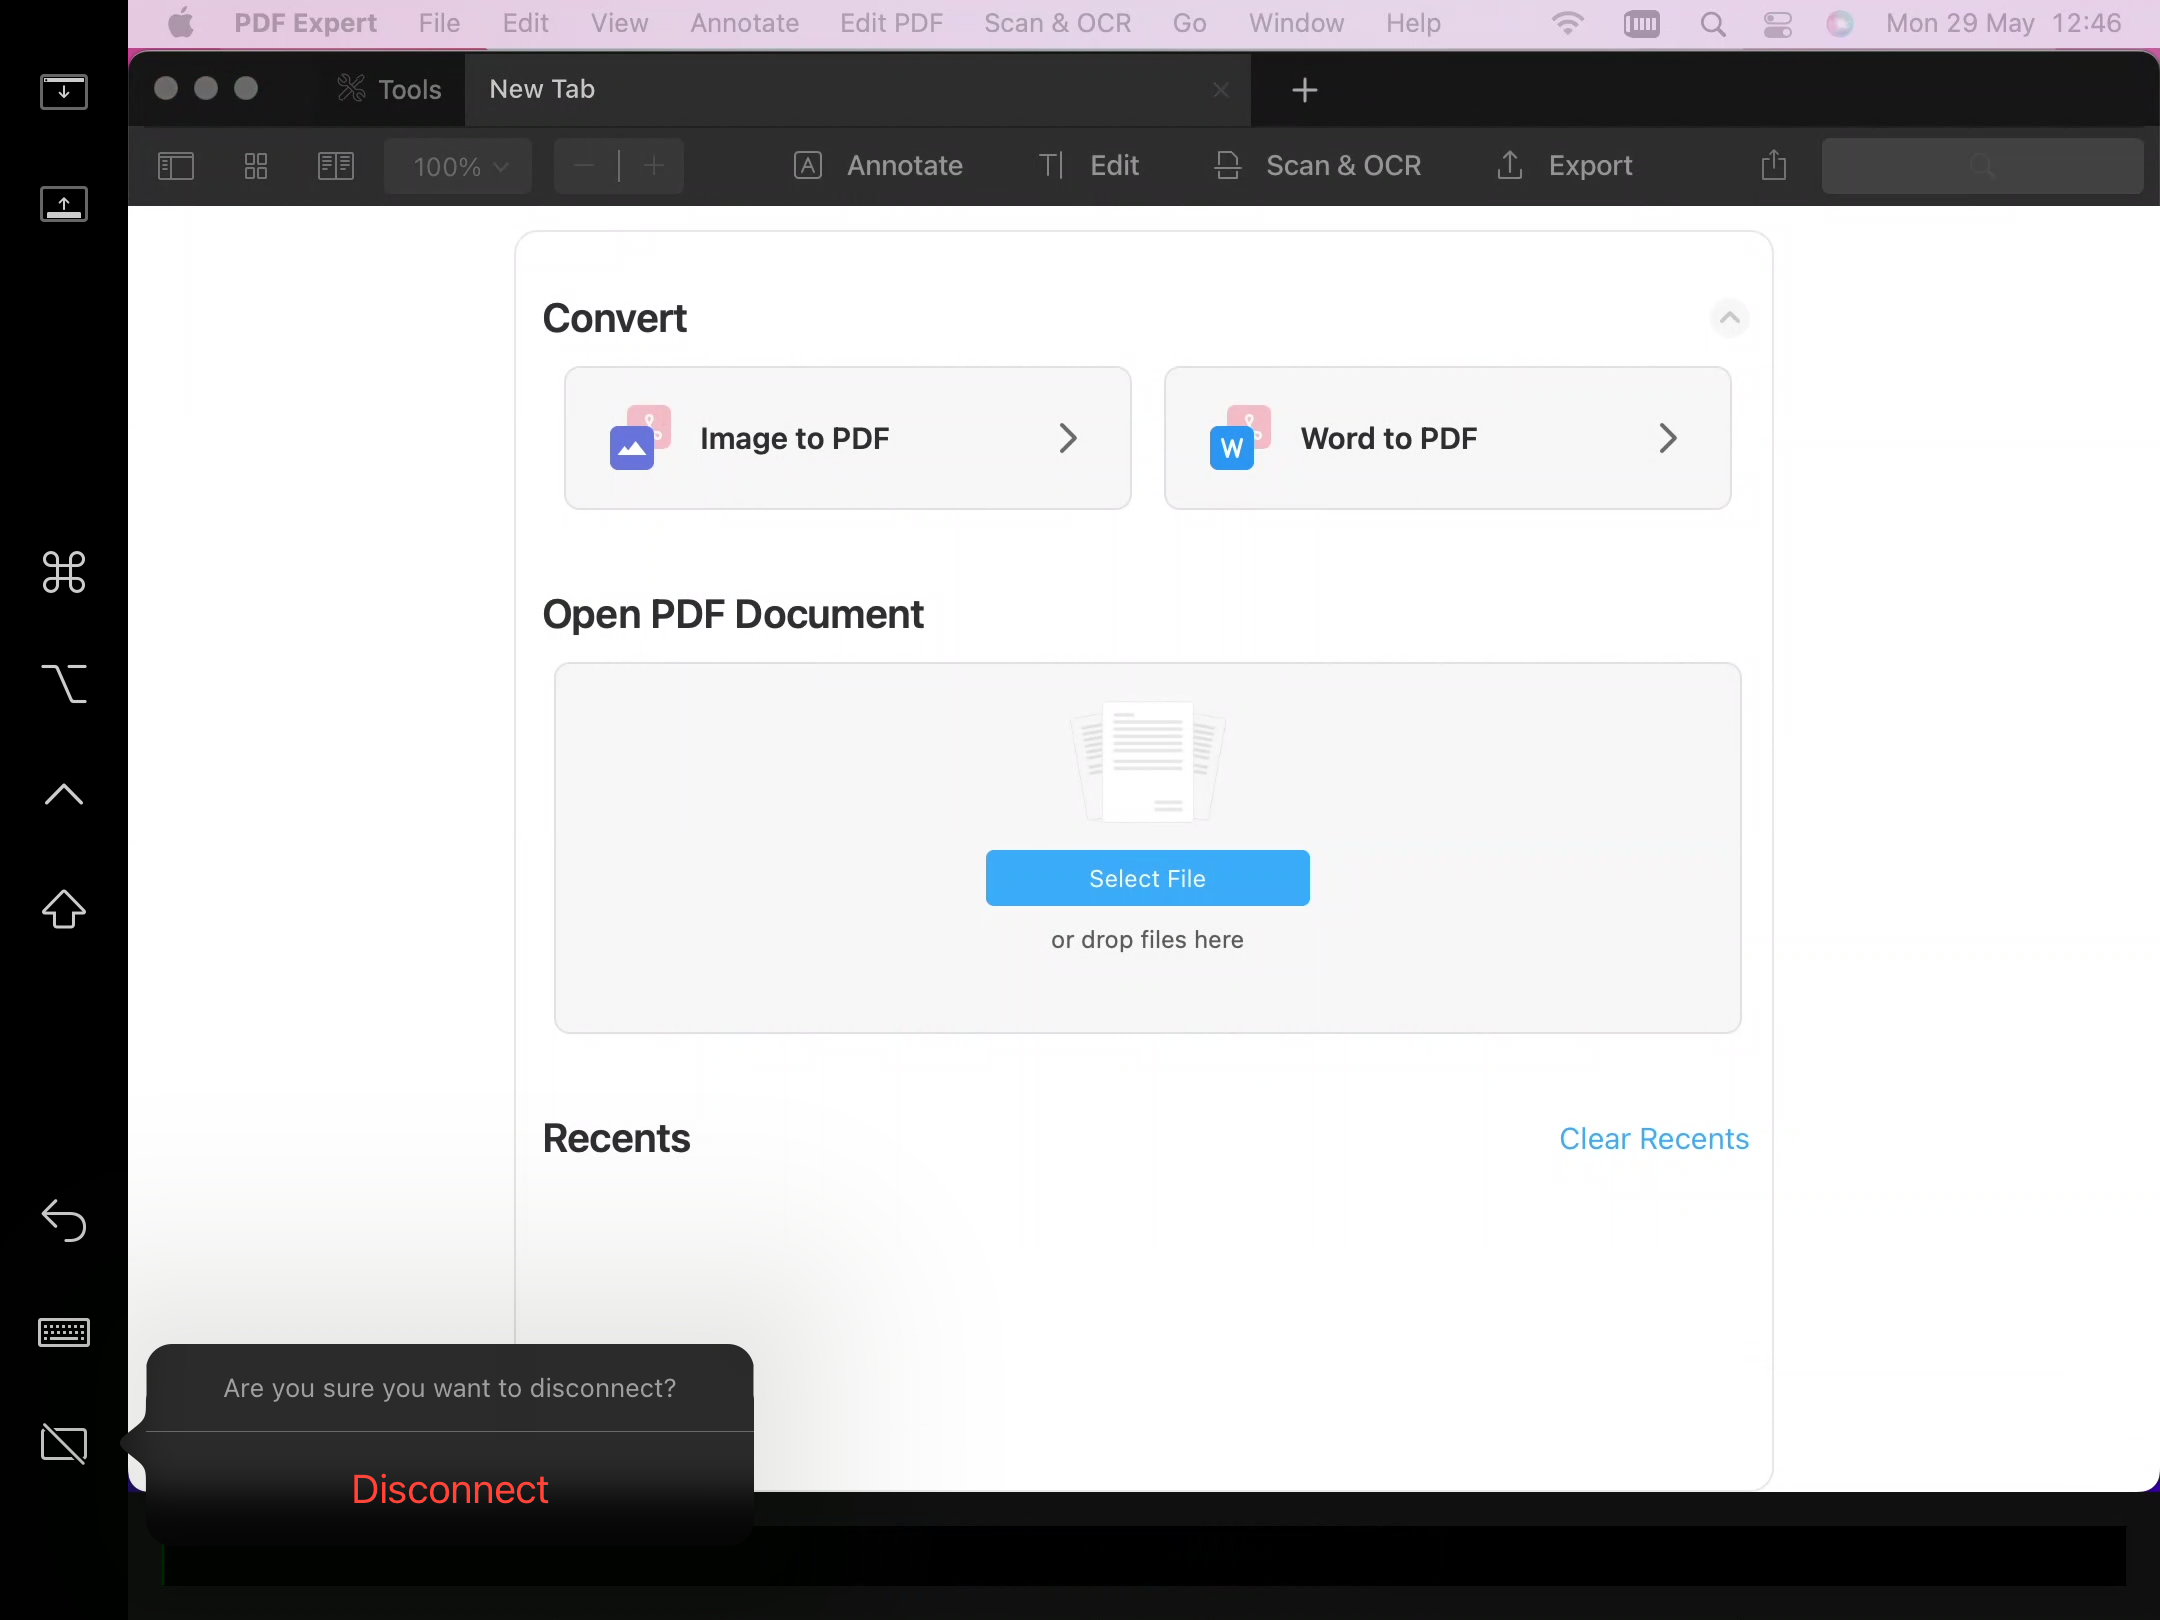
A paperless workflow has become increasingly essential and beneficial in today's technologically advanced world. We’ve adopted two system options - Sidecar and Camera Continuity - to bring our users the best experience possible on iOS and macOS platforms.
How the sidecar works
With Sidecar, you can now utilize your iPad as an additional display for your Mac. This feature seamlessly extends your desktop, allowing you to view applications or windows on your iPad or mirror the ones visible on your Mac. If you have an iPad and a compatible MacBook, you can establish a dual-screen workspace while on the move.
These are the necessary conditions to use the feature:
- have both your Mac and your iPad connected to Wi-Fi;
- enable Bluetooth on both devices you’re trying to connect;
- make sure you’re using the same Apple ID on your Mac and iPad.
All these points have to be considered in order for Sidecar to work on your devices. You can also learn more about the mechanism and compatible devices in Apple’s article on Sidecar.
Hoover your cursor on any of the tools on the Sidecar toolbar on the iPad to see what they do, in the same way as in standard Apple Sidecar.
How to enable Sidecar
Once you’ve ensured that all the conditions for using this feature are true, you can enable Sidecar from your Mac.
You can use your iPad with Sidecar for two purposes: as a second monitor or as a separate display.
To use the tool as a second monitor, follow these steps:
- Launch PDF Expert on your Mac.
- Make sure all the conditions for the connection are met.
- Open the Window menu.
- Choose Move to iPad.
- Now, the PDF Expert window is moved to your iPad.
In case you want to see the app on both your Mac and iPad and make changes instantly, as well as use the iPad as a completely separate display, make sure to do this:
- Open several PDF files in separate windows on your Mac.
- Open the Window menu on your Mac in PDF Expert.
- Click Move to iPad.
- Go to Control Center on your Mac.
- Click Use as a separate display.
- Use your iPad as the option.
- Drag one of the windows onto your iPad.
- Now, you can use the iPad as a separate unit for working with PDF Expert.
You can scroll the file, zoom in or zoom out with your fingers - you can also use a mouse with your iPad to scroll. All the annotation or editing tools can be activated and used with the Apple Pencil only.
We've also optimized Apple Pencil for the purpose of working with Sidecar: now, the double tap is supported for switching the tools.
You can control the intensity, and can also adjust the configurations via PDF Expert > Settings > Advanced > Apple Pencil Double Tap.
In order to disconnect your iPad from your Mac, tap the last tool on the left sidebar of your iPad screen and hit Disconnect.

What is Continuity Camera's aim
Continuity Camera allows you to use your iPhone or iPad as a fully functioning camera for your PDF Expert on Mac without having to put any processes on Mac on stop.
We’ve implemented the variation of the system mechanism that allows you to:
- Take Photo - enables the camera on your iOS device.
- Scan Documents - uses iOS built-in scanner to create scans on your iPhone or iPad and insert them into PDF Expert.
- Add Sketch - a handwritten text or a drawing can be made.
For learning more about Apple’s Continuity Camera, see this article.
The conditions for using Continuity Camera in PDF Expert are the same as for the Sidecar:
- have both your Mac and your iPad connected to Wi-Fi;
- enable Bluetooth on both devices you’re trying to connect;
- make sure you’re using the same Apple ID on your Mac and iPad.
How to use Camera Continuity
We have four entry points for Camera Continuity in PDF Expert - here’s how you can enable the feature once the devices are connected:
- Right-click on any page in your PDF file and choose from Photo, Scan, or Sketch options. The file you create will be added as a stamp.
- Go to the File menu in the upper left > Import from iPhone/iPad and choose from Photo or Scan. In this case, a new PDF file is created from a photo or a scan. If you take several photos or make several scans, the file will be multipage.
- Activate Annotate mode > click on the Stamp tool > Custom > click plus > iPhone/iPad > Insert Image. Here you can choose from three options again: Photo, Scan and Sketch. These stamps will be saved in your Custom Stamps list.
- Activate Annotate mode > click on the Signature tool > click plus > iPhone/iPad > Insert Image. This option allows you to use Sketch - for instance, you can use your Apple Pencil and an iPad to create a realistic signature and add it to your file. The sketch will be saved in your signature list.
Find out more about the possibilities you can unlock with Sidecar and Camera Continuity in our blog.