PDF Expert has a collection of stamps you can add to your PDF files. Moreover, you can create your own stamps with texts or images.
Jump to:
Add a Stamp
- Open a PDF file and select the Fill & Sign tab.
- Select the Stamp
 tool.
tool. - Choose a stamp on the sidebar on the right and click it.
- Click where you want the stamp to be inserted. You can use one stamp multiple times. If needed, rotate it using buttons on the right.
- When finished working with stamps, click
 in the top toolbar to exit the Add Stamp mode. To exit the Annotate mode, click the Annotate tab in the top.
- Tap and hold on a place in a document where you want to insert a stamp.
- Tap Stamp in a pop-up menu. Note: On your iPhone, use the arrow button to find this option.

- Select a stamp from the list.
- You can tap and hold the stamp to move it.
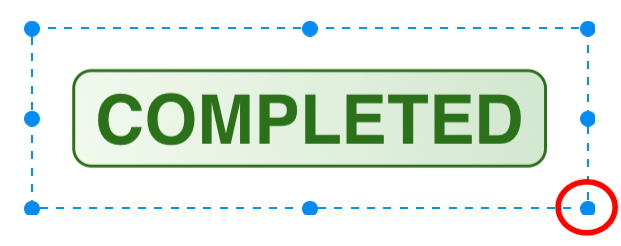
- To resize the stamp, just drag its corner.

Create a custom stamp
- Open a PDF file and select the Fill & Sign tab.
- Select the Stamp
 tool.
tool. - Click the Custom tab on the sidebar on the right.
- Add stamps using + icon at the top.
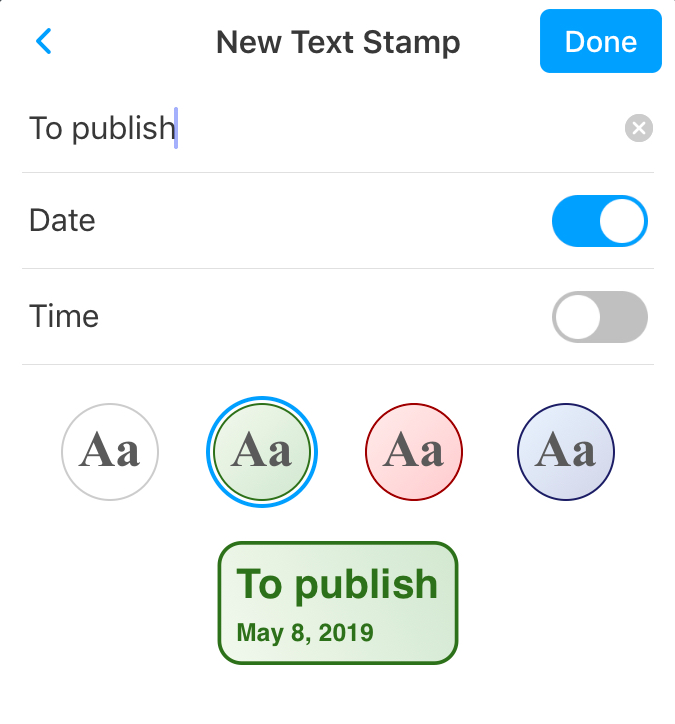
- For the text stamp, you can type any text you like. To include the current date or time to your stamp, tick Date and Time. PDF Expert automatically updates the date and time on your stamps. For the image stamp, you can select a picture from Photos.
- If you choose to create an image stamp, you can tick the Convert white color to transparent option. Control the Tolerance level with a slider that appears after this.
- Click where you want the stamp to be inserted. You can use one stamp multiple times. If needed, rotate it using buttons on the right.
- When finished working with stamps, click
 in the top toolbar to exit the Add Stamp mode. To exit the Annotate mode, click the Annotate tab in the top.
- Tap and hold where you want to add a stamp.
- Select Stamp in a pop-up menu.
- Tap Custom.
- Select New Text Stamp or New Image Stamp.
For the text stamp, you can type any text you like. To include the current date or time to your stamp, enable the Date or Time toggle. PDF Expert automatically updates the date and time on your stamps.

For the image stamp, you can select a picture from Photos.
Note: The stamp you create is available in the Custom tab of the Stamps menu.
Change the size of the added stamp
Once you added a stamp, drag the corner of the stamp to resize it. Later on, click the stamp first, then drag the corner of the stamp.
To resize the stamp, tap it and drag its corner.
Bring to front, send to back, rotate, copy or delete a stamp
Right-click a stamp and choose one of the actions:
- Bring to front or Send to back;
- Copy - you can also copy a stamp using the Command C shortcut;
- Delete - you can also delete a stamp by clicking it and pressing the Delete key;
- Rotate - choose between the 90’ Left, 90’ Right and 180’ options.
- Tap a stamp.
- In a pop-up menu, select Copy or Delete, Bring to front, or Send to back.