The following article was translated from English using a machine translation service.
Scanner Pro lets users capture high-quality scans of paper documents with their smartphones' built-in cameras, making the process faster and more convenient than with a traditional scanner. In this article, you can learn how to scan using the app as well as how to turn already taken photos into scans.
How to scan
- Open Scanner Pro and tap the orange camera button at the bottom.
- Place your document in view of the camera.
- Tap the Shutter button
 to scan.
 - Scanner Pro automatically detects the document, corrects the perspective, and crops out anything that isn't the document. If you'd like to make manual adjustments, drag the corners of the scan borders suggested by the app. You can also rotate the scan using the rotate

 buttons.
 - When finished with adjustments, tap the icon at the bottom right. Now, you can scan additional pages to create a multi-page scan, or save the newly created scan by tapping it at the bottom right, then tapping Save at the top left.
There are also additional handy options you can use before pressing the Shutter button  :
:
- Turn on
 or turn off
  the torch;
 - Switch to the Auto-capture mode (it will automatically scan your document);
- Set the color mode: Black & White highlights and contrasts text; Color adds brightness and contrast to the initial colored scan; Photo preserves all colors of the initial scan; and Grayscale leaves the initial brightness and contrast of the image while setting the color to shades of gray. Auto Color Mode scans in the most effective mode depending on the document.
Create a scan from Photos
- Open Scanner Pro and tap the plus button at the bottom right.
- Tap the icon at the bottom right and select a photo you'd like to turn into a scan. You can select multiple photos to create a multi-page scan.
- Tap Add at the top right.
- Tap Save at the top left.
Use Book Mode
If you’re scanning books or two-paged documents, you can use Book Mode for your convenience and get two separate pages right away - make sure you’re using the Auto mode and turn your device into Landscape for the best experience.
To activate the mode, please do this:
- Launch Scanner Pro on your device.
- Tap the orange camera button at the bottom of the screen to start scanning.
- Choose Book mode next to Document.
- Take a photo of the needed pages.
- Tap the icon at the bottom right and select a photo you'd like to turn into a scan. You can select multiple photos to create a multi-page scan.
- Tap Save.

Shutter and iOS18 Controls Gallery
You can create scans with a Shutter button starting from iOS18 - tap the Shutter button to take a scan, just like it works with photos.
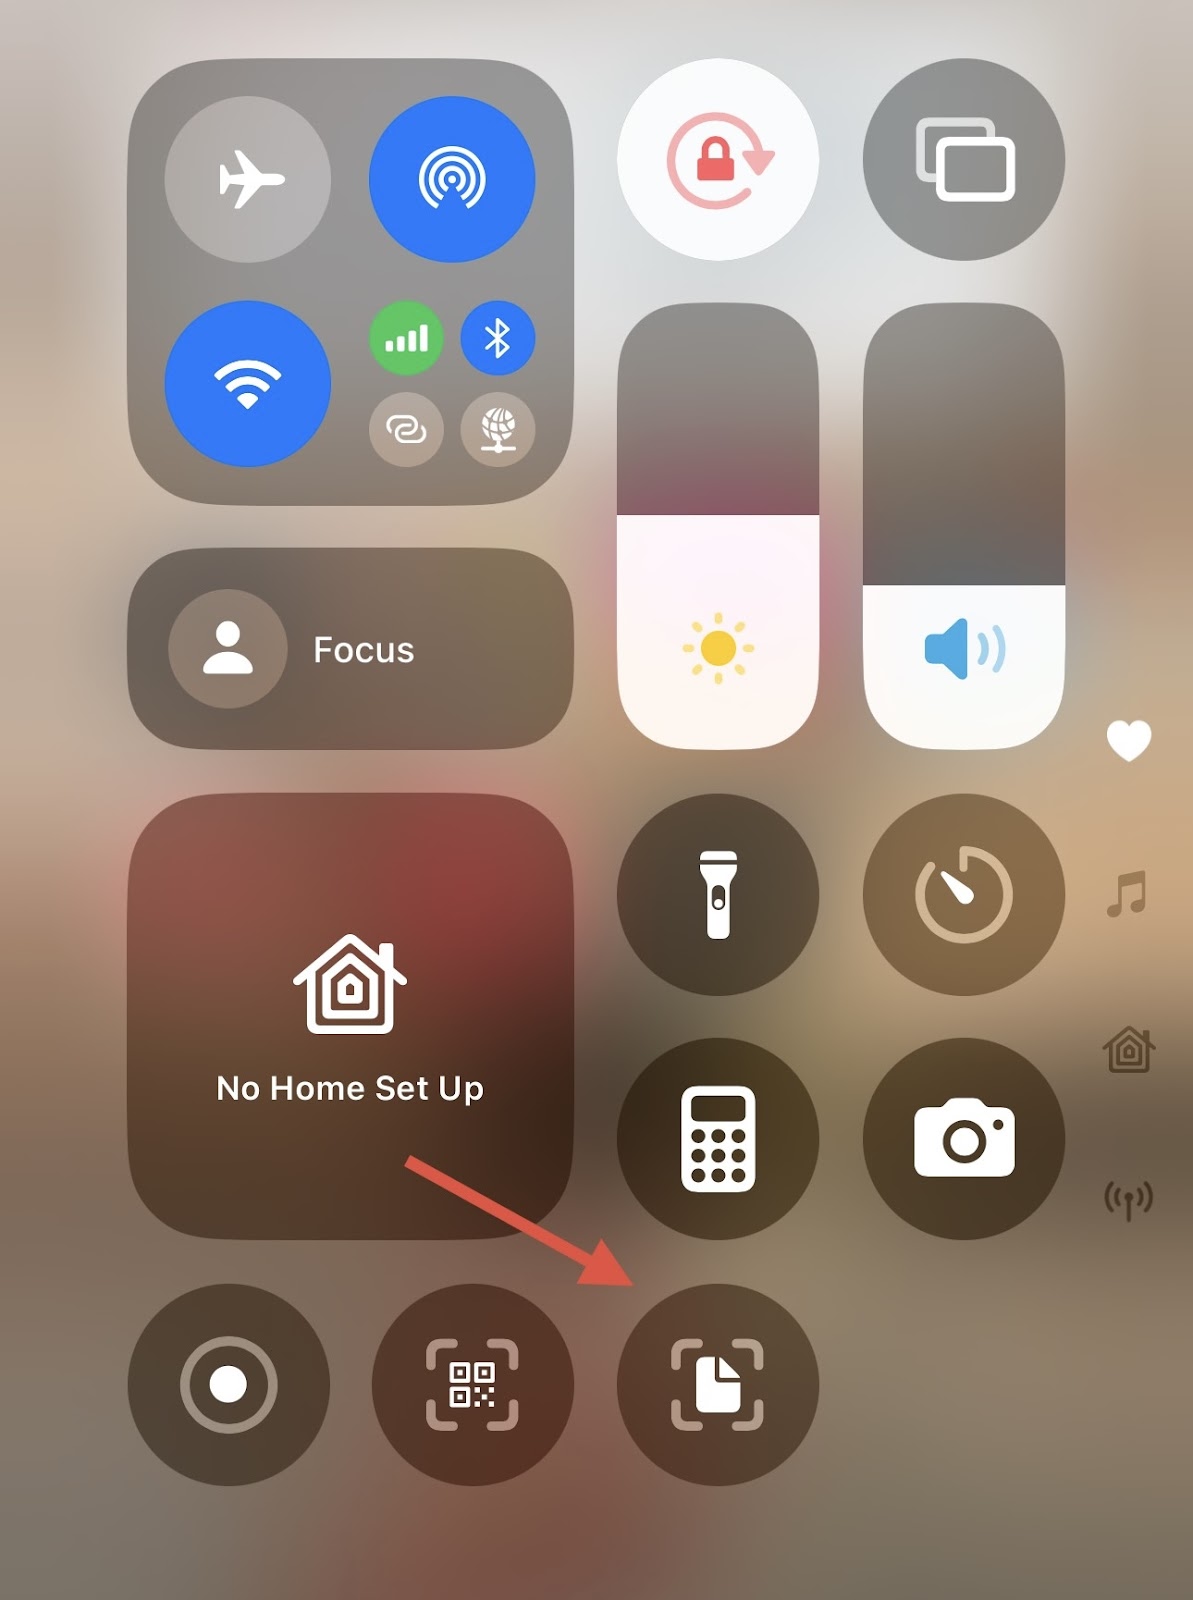
With the iOS 18 update, you can also add Scanner Pro actions from the Controls Gallery for speedy access to scanning from your Home and Lock Screens.
- Swipe down from the top of your screen to open the Controls Gallery.
- Tap & hold to Add a Control.
- Select Scanner Pro.
Rename a scan
- Open the scan you’d like to rename and tap … at the top right.
- Select Rename Document.
- Enter a new name - you can remove the old name or combine it with a new one if you wish.
- Tap Done.
You can also tap a scan’s name while in the My Scans section > enter a new name > tap Done.